Naturalist Illustration with Ballpoint Pen
Updated on
Course overview
- Provider
- Domestika
- Course type
- Paid course
- Level
- Beginner
- Deadline
- Flexible
- Duration
- 3 hours
- Lessons
- 19 lessons
- Certificate
- Available on completion
- Course author
- Ricardo Macía Lalinde
-
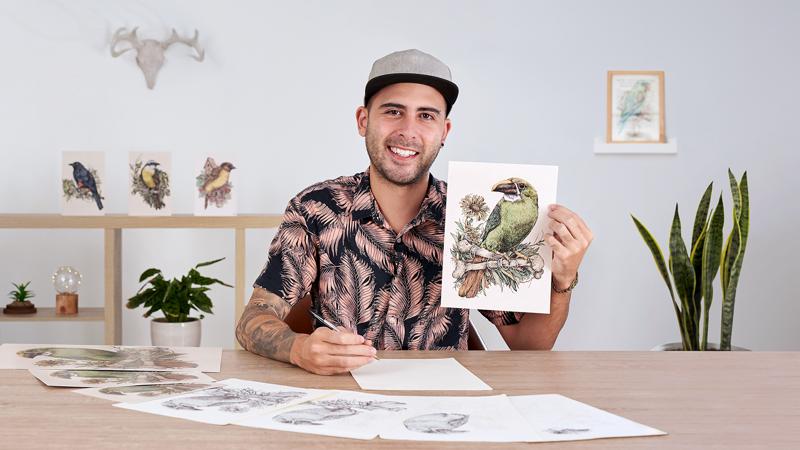
Can you imagine creating highly detailed illustrations full of textures with just a ballpoint pen? Graphic designer and illustrator Ricardo Macía has mastered ink techniques to the point where, by simply changing the amount of pressure, he can create different patterns that transform into light and shadow and produce incredibly realistic results.
In this course, learn basic ballpoint pen drawing techniques applied to naturalist illustration. Work through a series of exercises and practice creating gradients, volume, and contrasts by controlling the force you apply in your line work. Then, create a composition with elements of flora and fauna and combine the realistic texture of ink with digital color in Photoshop to produce an original illustration.
Description
Begin by getting to know Ricardo Macía and how he got started in the world of illustration. He tells you about his favorite projects and the graphic influences that inspire him to create.
Go over some of the basic concepts of naturalist illustration and get a feel for the ballpoint pen. Train your hand with a set of exercises and learn how to create gradients and volume by controlling line pressure before tackling other concepts like fluid lines, repetition, spacing, layers, and line direction. Compile references and ideas into a mood board for your project and draw a collection of thumbnails to experiment with value and the rules of composition.
Now that you've learned the basic techniques for illustrating in ink, it's time to work on your project. Design a digital sketch in Photoshop and transfer it to paper in simplified shapes. Then, grab your pen and ink your illustration: work downwards from the head of your bird to the body and the surrounding floral details adding textures and chiaroscuro with practiced, controlled lines. Finish off your piece by retouching certain areas and emphasizing specific details to give it a realistic look.
As a final step, digitize and edit your illustration and add color in Photoshop to bring out its full potential. Ricardo rounds out the course by giving you some tips on how to export your art to share it digitally or prepare it for printing.
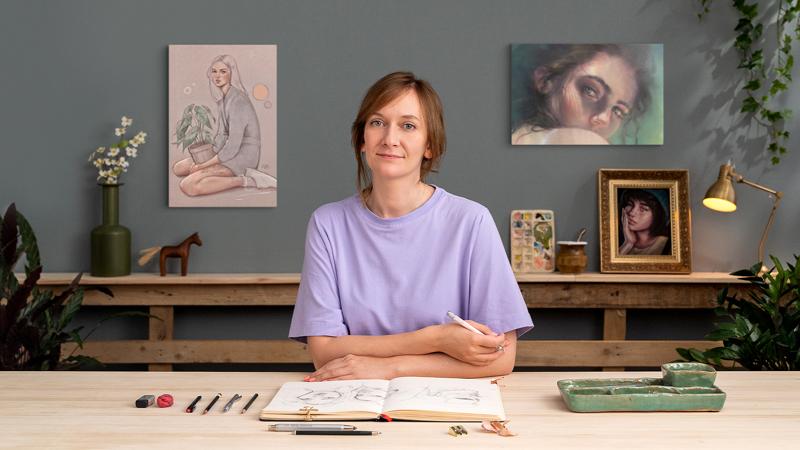
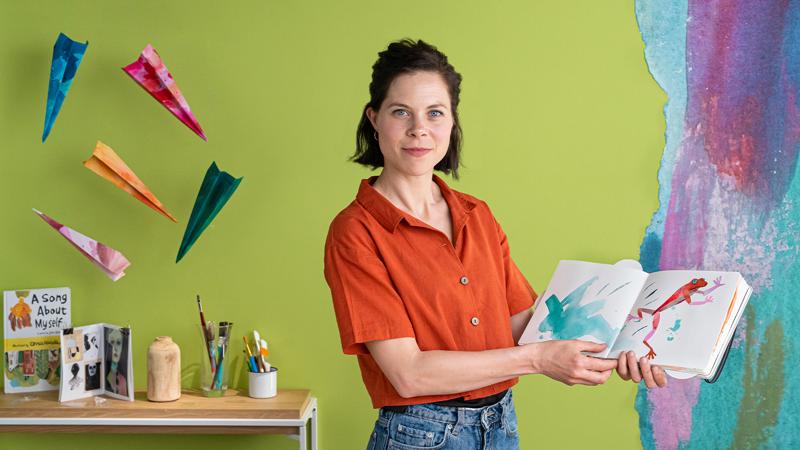
Similar courses
-
Flexible deadline
-
2 hours
-
14 lessonsCertificate
-
Flexible deadline
-
5 hours
-
23 lessonsCertificate