Course overview
- Provider
- Domestika
- Course type
- Paid course
- Level
- Beginner
- Deadline
- Flexible
- Duration
- 4 hours
- Lessons
- 18 lessons
- Certificate
- Available on completion
- Course author
- Jimena S. Sarquiz
-
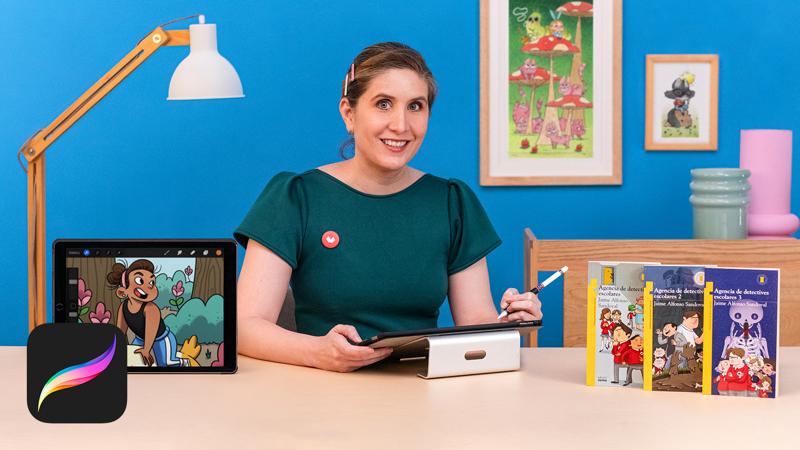
The most emotional and expressive characters are also the ones who bring out the most smiles. Since her childhood, Jimena S. Sarquiz has been comforted by animation and illustrated stories. Now she tries to bring that same happiness to others through her playful illustrations for children. After working with a range of tools and techniques, Procreate has become her favorite design tool by allowing her to create on-the-go.
In this course, learn to design characters for children's stories from scratch and integrate them into a scene using your iPad Pro. Work with different methods to compose figures and bring them to life with multiple expressions. Finally, discover how to tell your unique story through illustration.
Description
To begin, explore Jimena's career and influences. Discover how her passion for drawing and love for picture books led her to become a children's illustrator. Learn about her experience with Procreate and the reasons why it’s become her tool of choice. From there, discover her different techniques so you can draw alongside her throughout the course.
Start designing your character using a sentence or phrase which sparks your creativity. Continue by creating a mood board and gathering visual references for your project. Then, learn to draw bodies by creating basic shapes to achieve more variety in your designs. These same figures will become three-dimensional objects and compose the skeleton of your character. Experiment with different facial expressions and body postures to help bring your character to life.
Once you’ve defined your character, use it to start creating your illustration in Procreate. First, use the drawing guides to create a perspective grid that serves as a reference for drawing your background image. Next, Jimena shows you the tools for inking and coloring. Finally, add details with highlights and shadows to make it really shine.
To wrap up your project, discover the best way to export your illustration depending on your purpose. You can export it and continue working in another program, prepare it for final delivery to a client, or start sharing it on social media.
Similar courses

-
Flexible deadline
-
2 hours
-
14 lessonsCertificate

-
Flexible deadline
-
5 hours
-
23 lessonsCertificate


