Course overview
- Provider
- Domestika
- Course type
- Paid course
- Level
- Beginner
- Deadline
- Flexible
- Duration
- 4 hours
- Lessons
- 22 lessons
- Certificate
- Available on completion
- Course author
- Marc Suárez Mulero
-
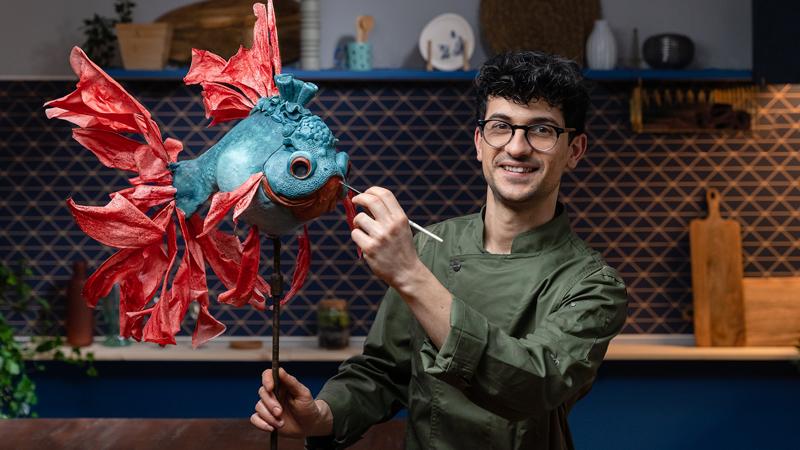
With just a few ingredients and lots of creativity, a cake can become a work of art. Cake designer Marc Suárez, winner of several international awards for best cake sculptor, teaches you to carve and model delicious and hyperrealistic edible sculptures with a touch of magic.
In this course, learn how to make 3D cakes with basic baking ingredients and a good dose of imagination. Heat up your oven and prepare to make a personalized sculpture using edible materials, from sponge cake to fondant to modeling chocolate.
Description
To start off, Marc Suárez talks about how he became a cake designer and which artists have influenced his work. He welcomes you into the world of creative baking and its endless possibilities. So, let your imagination take the reins!
Learn the essential steps for creating your initial sketch and getting your 3D cake project off the ground. Analyze whether your idea can realistically be made 100% edible, taking into account volume, proportions, and basic physics. Look for inspiration and choose the color palette for your sculpture. Prepare the template and materials, and decide on the most sturdy and effective structure for your cake.
Now it's time to make your dream a reality! Assemble the structure making sure it meets health and safety regulations. Bake and select the best pieces to mount as part of the finished design. Start carving using your template and guides, paying close attention to each shape before adding the ganache topping.
Now is when your cake really takes on a personality of its own. With Marc as your guide, add the finishing touches down to the very last detail decorating your cake with modeling chocolate and icing. Make your cake burst with color by adding food coloring to the fondant.
"Put the icing on the cake" with a few expressive flourishes. Add small rice paper decorations and cover the base and stand. Marc gives you a few tips on how to transport and store your edible artwork.
Similar courses

-
Flexible deadline
-
14 hours
-
31 lessons

-
Flexible deadline
-
11 hours
-
43 lessons

-
Flexible deadline
-
10 hours
-
23 lessons

